
Florida Sand Riding Guide: Technique, Bike Setup and Common Mistakes
How to make a dirt bike calmer and more predictable in Florida sand without chasing random setup changes.
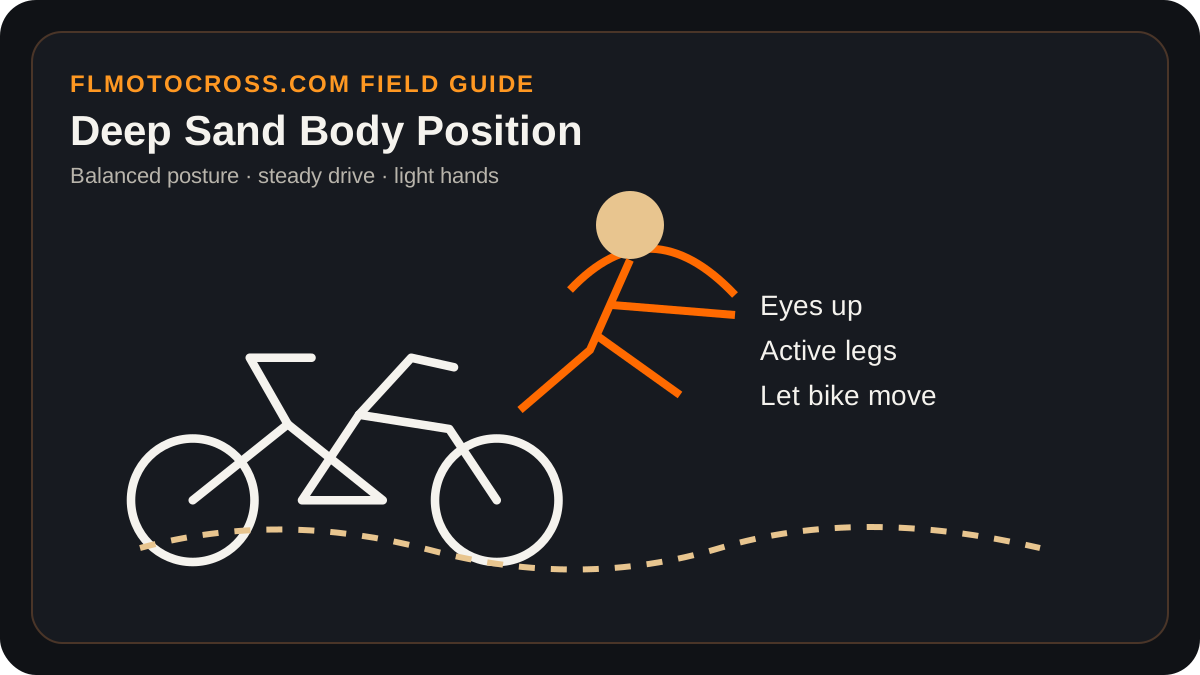
Why sand feels difficult
Sand lets the front tire wander more than firm soil, builds rolling resistance, and changes shape every lap. The natural reaction is to tense up, stare at the front wheel and chop the throttle whenever the bike moves. Those reactions usually make the motorcycle less stable. Sand rewards momentum, a relaxed upper body and looking farther ahead.
Florida sand also varies. A groomed sand track early in the day can feel supportive and fast; the same line later can become deep, chopped and full of acceleration bumps. Rain can either tighten the surface or create heavy, rutted sections depending on drainage and soil mix.
Body position and vision
Keep your eyes up and let the motorcycle move underneath you. A death grip transfers every wiggle into your shoulders and causes premature arm pump. When accelerating in deep sand, riders often benefit from keeping weight neutral-to-rearward enough that the front tire is not being driven into the soft surface, while still staying balanced enough to steer and absorb bumps.
In corners, commit to the rut or berm you choose. Looking across the track at the line you wish you had taken is a reliable way to leave the line you are actually in. Keep vision through the exit and use steady drive rather than abrupt on/off throttle.
Throttle, gearing and momentum
Sand consumes power. A gear that works comfortably on hardpack can feel flat when the rear tire is digging. Keep the engine in a usable part of the powerband and avoid unnecessary upshifts that force the bike to pull a tall gear through deep material. That does not mean holding the engine on the limiter; it means choosing a gear that responds cleanly when you need drive.
If you change sprockets for sand, record the original ratio first. More rear sprocket or less front sprocket increases the numerical final-drive ratio, giving stronger wheel torque at the same engine output but reducing speed at a given rpm. Use the gearing calculator on this site to compare changes before buying parts.
Tires and pressure: avoid magic numbers
There is no single Florida sand tire pressure that is correct for every motorcycle, tire, tube/mousse system, rider and track. Lower pressure can increase footprint but also changes carcass movement and increases the risk of pinch damage with tubes. Start from the tire/bike manufacturer’s guidance and your known baseline, then make small changes while recording them.
A sand-oriented rear tire can improve drive, but riding technique still matters more than a one-part fix. A fresh tire will not compensate for entering every soft section off-throttle and tense.
Suspension changes: one at a time
Deep sand and whoops often expose a bike that rides too low in the stroke or kicks because rebound/compression balance is wrong for the rider. Before touching clickers, verify basic mechanical condition and rider sag. Then make one small clicker change, ride the same section, and record the result. Returning to the exact baseline should always be possible.
Do not copy a fast rider’s clicker count without knowing spring rate, rider weight, internal valving, tire and track conditions. Use the setup log to build your own repeatable notes.
Common sand mistakes
The most common errors are staring down, riding too stiff, shutting the throttle abruptly when the front moves, entering long soft sections with too little momentum, and making five setup changes at the same time. Work on predictability first. Sand becomes much less intimidating once the rider expects the bike to move and stops fighting every small movement.
Track-specific rules always win
Use this guide as preparation, then follow the riders’ meeting, posted rules and staff instructions at the facility you visit. Conditions and operating procedures vary by track and event.
Related rider guides
A technique-focused guide to entry speed, body position, throttle and line choice when deep sand makes the front end feel vague.
A repeatable approach to deep ruts that helps riders stop fighting the groove and start using it as a line.
Technique and setup cues for repeated bumps entering corners, with emphasis on braking control and letting suspension recover.
A conservative introduction to whoop sections that focuses on repeatable rhythm before speed.