
Motocross Rider Sag Setup: A Repeatable Measurement Walkthrough
A step-by-step sag measurement process that emphasizes repeatable reference points and model-specific targets.
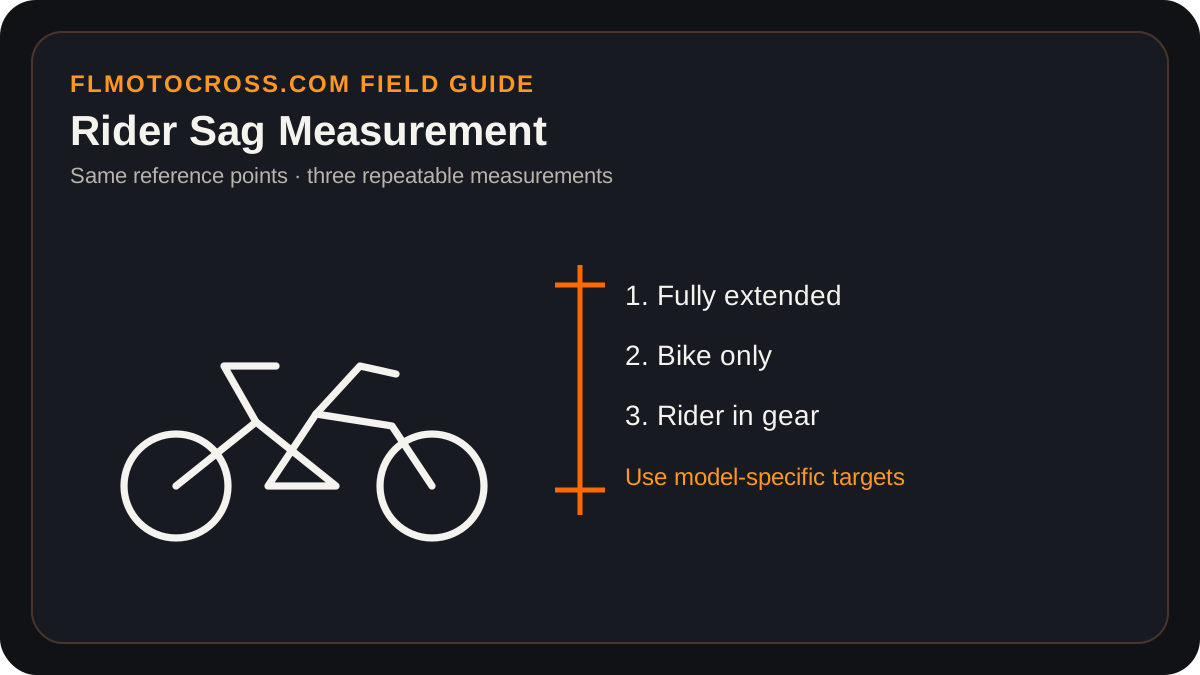
Use repeatable reference points
Choose a fixed point on the rear axle and a fixed point on the rear body/subframe area that will not move independently of the chassis. Measure along the same line every time. Marking the upper point with tape can reduce variation. The exact reference points are less important than using exactly the same points and measurement angle for all three measurements.
Use a helper if possible. Sag numbers are easily distorted when the rider twists to read the tape or balances awkwardly. Wear normal riding gear because boots, helmet and protection add weight and can change posture.
Measurement one: fully extended
With the rear suspension completely unloaded and the motorcycle stable, measure from axle reference to chassis reference. This is the extended length. Make sure the wheel is genuinely hanging free and the suspension is topped out without the bike being lifted by a point that damages it.
Record the number rather than relying on memory. Millimeters are convenient because sag targets and changes are small.
Measurement two: bike-only static sag
Place the motorcycle on level ground with no rider, bounce the rear suspension gently to overcome stiction, and let it settle. Measure the same two points. Extended length minus this value is static/free sag.
Do not force the bike down or lift it before measuring. If friction makes the settled value inconsistent, take measurements after approaching the position from both directions and inspect/service the suspension if stiction is excessive.
Measurement three: rider sag
With the rider in full gear and normal centered riding position, have a helper stabilize the bike without lifting it. Bounce lightly, settle, and measure the same points. Extended length minus rider-loaded length is rider sag. Repeat at least once; a measurement that changes several millimeters each attempt is not a good basis for adjustment.
Compare the result with the motorcycle or suspension tuner’s target for that model and setup. The FLMotocross sag calculator can do the subtraction, but it intentionally does not choose the target.
Adjust preload, then re-check both values
If preload is adjusted to change rider sag, repeat static and rider measurements. The relationship between the two values can indicate whether spring rate is in a reasonable range. If you need extreme preload to reach rider sag or static sag becomes clearly inconsistent with the suspension provider’s guidance, discuss spring rate rather than continuing to crank preload.
Write the final spring/preload setting and both sag values in your setup log. When the bike later feels different, you can verify whether ride height actually changed instead of tuning around an unknown baseline.
Track-specific rules always win
Use this guide as preparation, then follow the riders’ meeting, posted rules and staff instructions at the facility you visit. Conditions and operating procedures vary by track and event.
Related rider guides
A process for testing pressure, sag and clicker changes without losing your baseline.
A controlled setup approach for Florida deep sand that emphasizes baseline, traction and rider feedback instead of random clicker changes.
How to approach traction, tire pressure, braking stability and suspension feedback when a Florida surface becomes firm, polished or slick.
Understand the jobs of springs, sag and damping so setup changes answer a specific symptom instead of becoming random clicker movement.