
Motocross Suspension Basics: Springs, Sag, Compression and Rebound Without the Mystery
Understand the jobs of springs, sag and damping so setup changes answer a specific symptom instead of becoming random clicker movement.
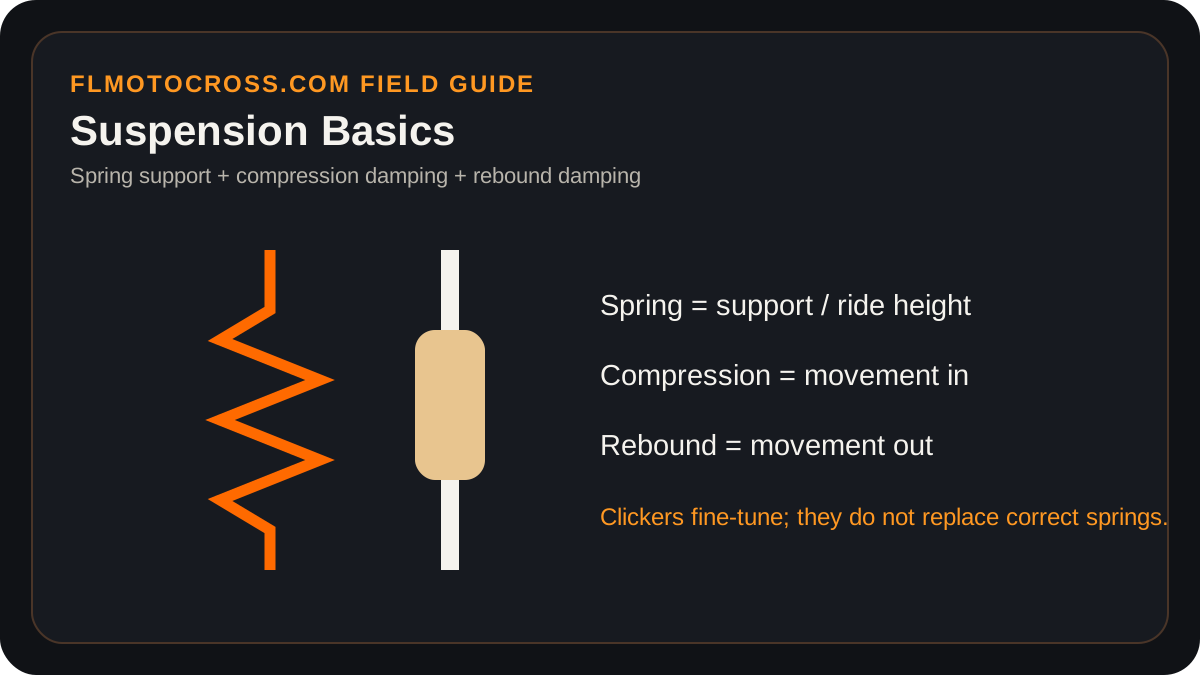
Springs hold the motorcycle in its working range
The springs support the bike and rider and determine how much force is needed to move through travel. If spring rate is far from appropriate for rider weight and use, clicker adjustments cannot fully compensate. That is why suspension setup usually starts with correct springs and sag before fine-tuning damping.
Front and rear balance matters. A motorcycle can have individually reasonable settings yet feel unbalanced if the rear rides very low relative to the front or vice versa. Measure before changing because visual guesses in the pits are unreliable.
Sag establishes rear ride height
Rider sag is the difference between a fully extended rear-suspension measurement and the same reference points with the geared rider in normal position. Static/free sag uses the bike without rider. Exact target ranges are model and setup specific, so use the motorcycle or suspension provider’s guidance rather than treating one internet number as universal.
Sag affects steering, traction and chassis attitude. More or less preload changes ride height but does not change the spring’s basic rate. If correct rider sag produces clearly abnormal static sag, the spring rate may be inappropriate rather than the preload simply needing more adjustment.
Compression damping controls movement into the stroke
Compression adjusters influence how suspension resists compressing. Depending on the component, there may be separate low-speed and high-speed compression circuits; “speed” refers to suspension-shaft movement, not motorcycle mph. Turning an adjuster without knowing which circuit it affects can make troubleshooting confusing.
A harsh feel is not always too much compression. A fork riding too low can encounter a firmer part of the stroke, low tire pressure can let the rim strike, or rebound can keep suspension packed down. Describe when and where the symptom occurs before changing damping.
Rebound controls return
Rebound damping controls how quickly suspension extends after compression. Too little damping can allow kicking or a loose, springy feel. Too much can keep suspension from recovering between bumps, causing it to ride lower and feel increasingly harsh through a series. The correct direction depends on the symptom, not on whether the track is simply “rough.”
Test rebound changes on a repeatable section such as braking bumps or a series of rollers. One isolated jump landing is poor data for a change intended to improve consecutive impacts.
Keep a baseline and make small changes
Count clickers from the manufacturer-defined reference direction and write the baseline down. Change one circuit at a time, usually in small increments, and ride enough to adapt. If the result is worse, return exactly to baseline rather than trying to remember where you started.
Suspension service condition matters too. Old oil, worn bushings, leaking seals or trapped air can make tuning inconsistent. If the bike will not respond predictably to reasonable adjustments, service may be more valuable than another day of clicker testing.
Track-specific rules always win
Use this guide as preparation, then follow the riders’ meeting, posted rules and staff instructions at the facility you visit. Conditions and operating procedures vary by track and event.
Related rider guides
A process for testing pressure, sag and clicker changes without losing your baseline.
A controlled setup approach for Florida deep sand that emphasizes baseline, traction and rider feedback instead of random clicker changes.
How to approach traction, tire pressure, braking stability and suspension feedback when a Florida surface becomes firm, polished or slick.
A step-by-step sag measurement process that emphasizes repeatable reference points and model-specific targets.