
Dirt Bike Chain and Sprocket Maintenance for Motocross
How to inspect chain slack, alignment and sprocket wear without using one generic slack number for every motorcycle.
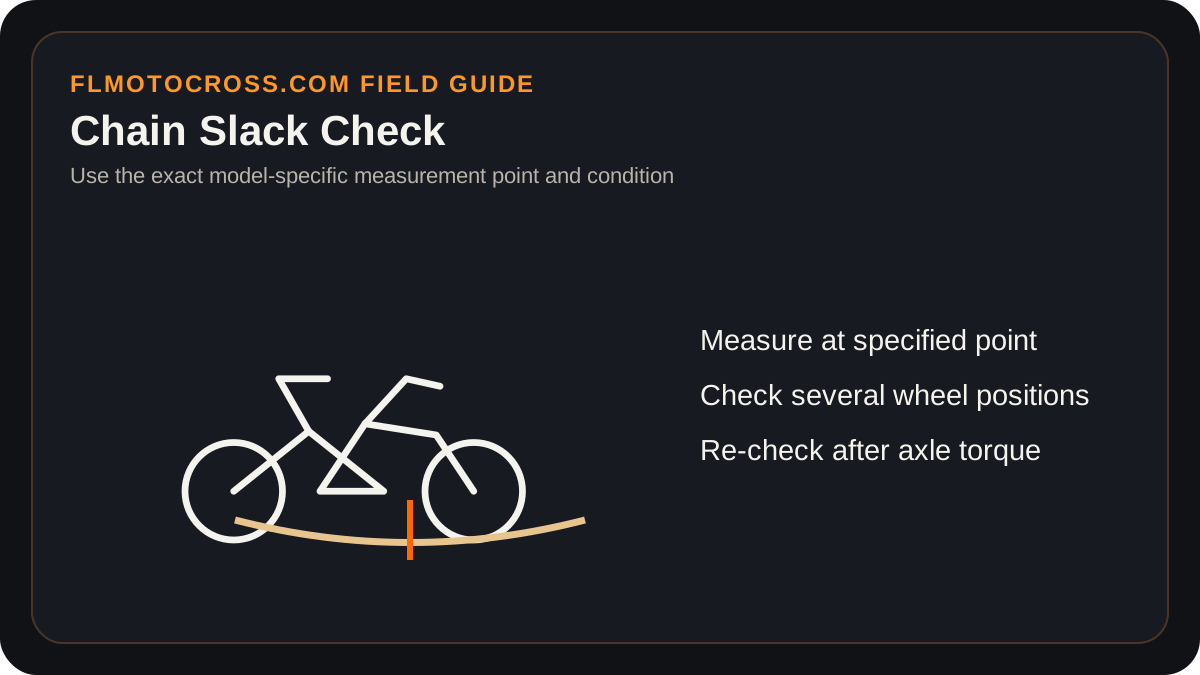
Use the motorcycle’s slack method
Chain slack is geometry-dependent. The correct measuring point, whether the bike is on a stand, and the acceptable range vary by motorcycle. Use the owner or service manual for the specific model rather than copying a number from another bike. Too tight can overload countershaft, wheel and suspension components as the swingarm moves; too loose can increase noise, derailment risk and inconsistent drive feel.
Always measure at multiple wheel positions because a chain can develop tight spots. If one section is significantly tighter, adjust based on the tightest section while staying within the manufacturer’s range. A chain with severe tight spots, damaged rollers, frozen links or excessive wear needs replacement rather than more adjustment.
Inspect the chain and both sprockets as one system
Look at front and rear sprocket teeth for obvious hooking, thinning, breakage or uneven wear. Check the chain for damaged seals on sealed-chain designs, side-plate damage, stiffness and corrosion. A badly worn chain running on new sprockets—or new chain on badly worn sprockets—can accelerate wear. Many riders replace chain and sprockets as a set when wear is significant.
Inspect the front sprocket area for packed mud, sand and oil residue. That area can hold abrasive debris and can also hide countershaft seal leakage. Clean carefully without directing high-pressure water at seals or bearings.
Alignment marks are a starting point
Swingarm adjuster marks are convenient, but they can be imperfect references. After adjustment, verify the adjusters are seated consistently and the axle is torqued according to the motorcycle procedure. If precise alignment is important, use an appropriate alignment method rather than assuming printed marks are laboratory references.
After tightening the axle, re-check slack. Adjustment can change as hardware seats. Spin the wheel and inspect chain movement before riding. Make sure the rear brake still operates normally and the wheel rotates without a new bind.
Lubrication depends on chain type and conditions
Follow the chain manufacturer’s guidance. A sealed O-ring/X-ring style chain uses internal lubricant retained by seals, while external lubrication primarily protects surfaces and seals and reduces corrosion/friction at contact points. Non-sealed chains have different needs. Avoid products that attack rubber seals if the chain uses them.
Clean off abrasive sand and mud gently before applying lubricant. A thick layer of sticky lube over grit creates grinding paste. Apply product where the chain manufacturer recommends, allow carrier solvents to flash, and wipe excess that would fling onto the wheel or brake area.
Gearing changes belong in the log
Changing front or rear sprocket tooth count changes final-drive ratio and may change chain length/axle position requirements. Record the gearing before testing so you know what actually improved traction or corner exit. Use the FLMotocross sprocket-ratio calculator to compare ratios numerically before buying parts.
After a gearing change, check chain guide clearance, axle position, chain length and any model-specific fit issues. “One tooth” sounds small, but changing the front sprocket affects ratio more than one tooth at the rear and can also change chain bend radius around the countershaft.
Track-specific rules always win
Use this guide as preparation, then follow the riders’ meeting, posted rules and staff instructions at the facility you visit. Conditions and operating procedures vary by track and event.
Related rider guides
A repeatable garage and pit inspection that catches common mechanical problems before they become on-track problems.
Why Florida riding makes air-filter preparation one of the highest-value maintenance habits, plus a clean workflow that avoids introducing dirt during service.
Radiator, coolant, cap, hose and airflow checks that matter when high ambient temperature and slow sections reduce cooling margin.
A repeatable brake check for track-day preparation, with emphasis on function and model-specific service limits rather than generic measurements.